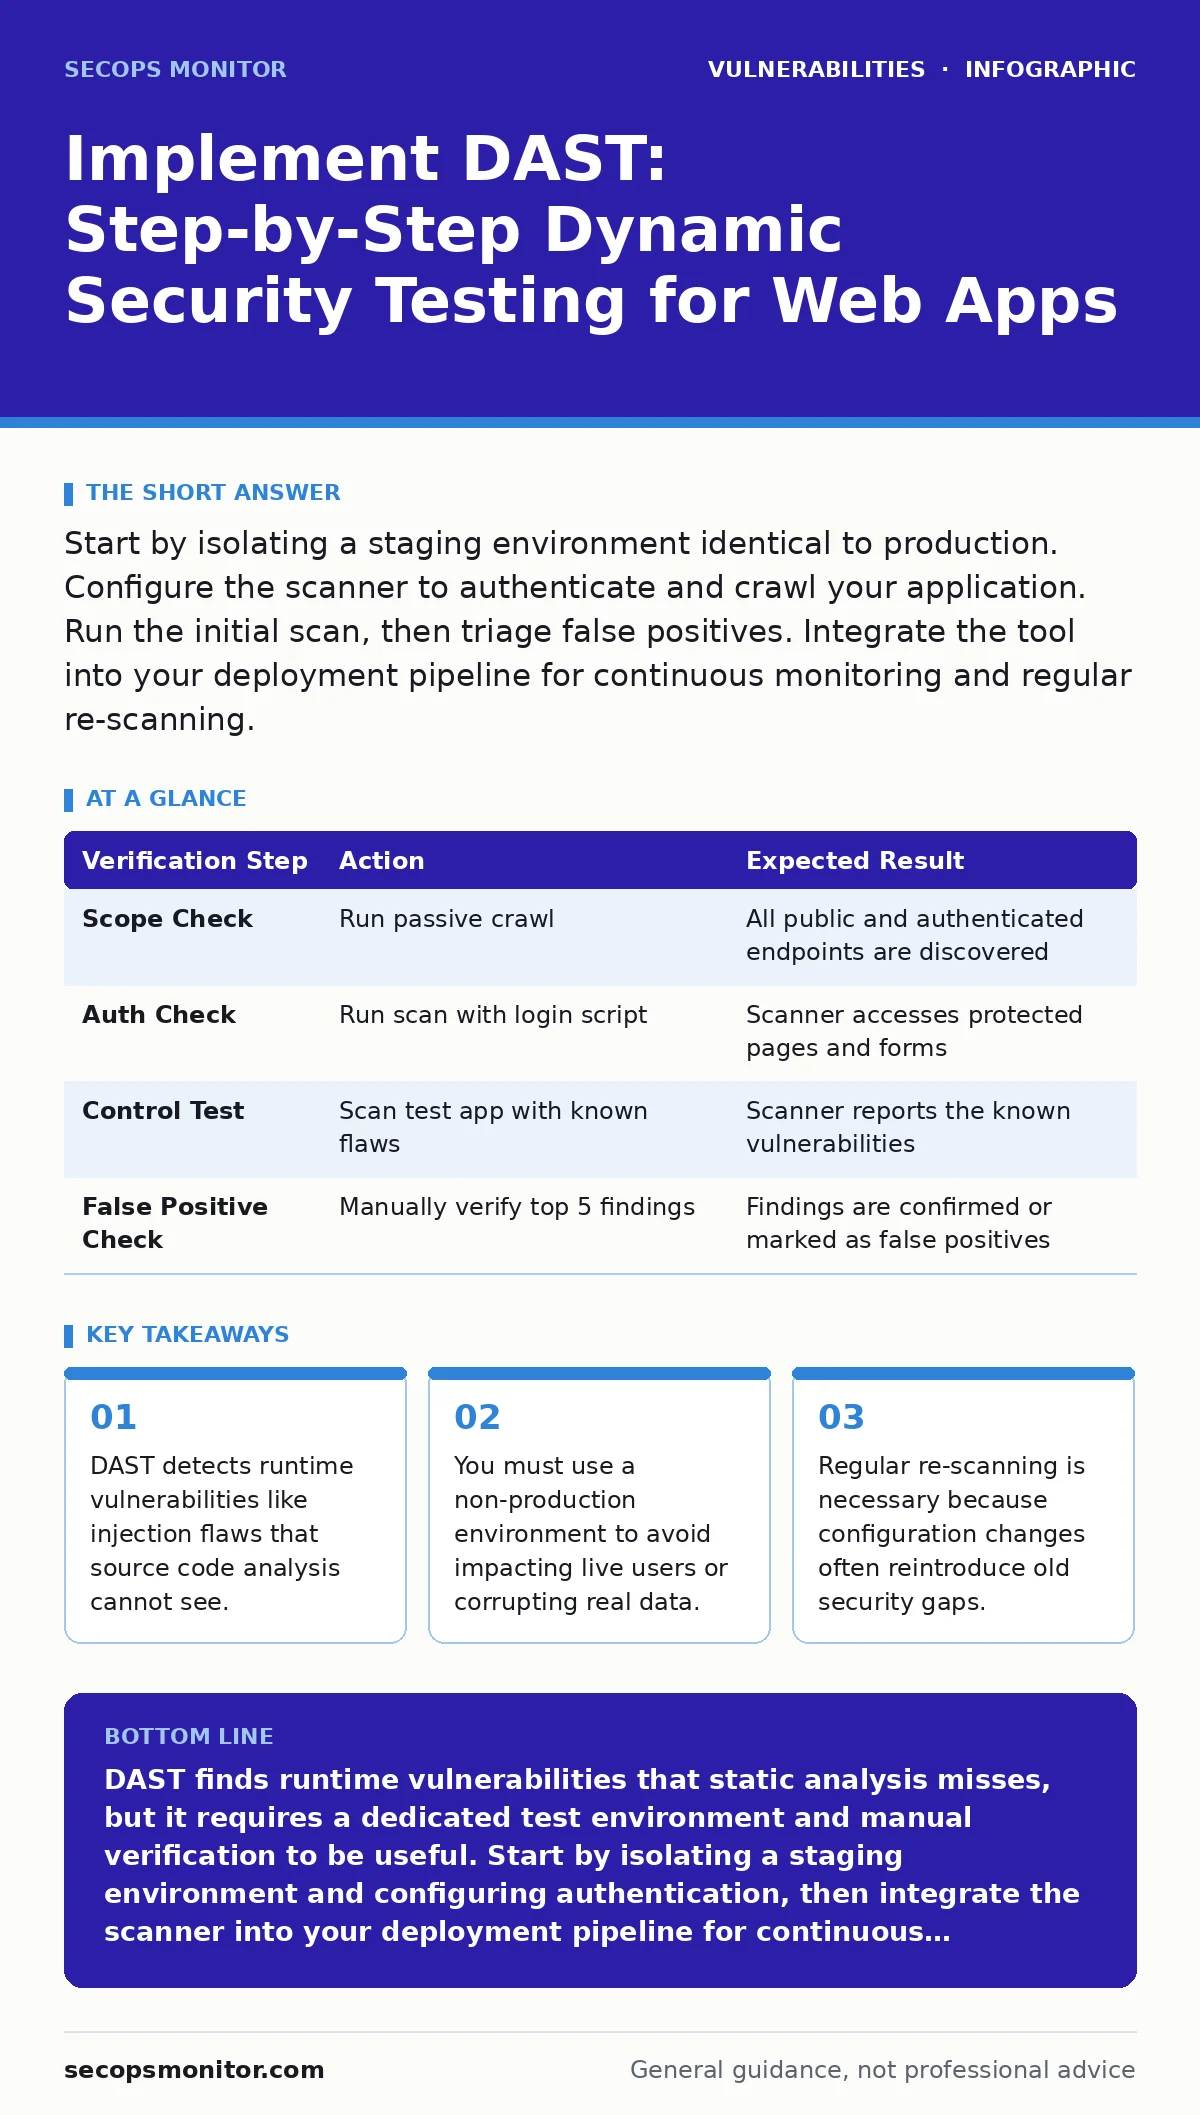
Start by isolating a staging environment identical to production. Configure the scanner to authenticate and crawl your application. Run the initial scan, then triage false positives. Integrate the tool into your deployment pipeline for continuous monitoring and regular re-scanning.
Isolate the Target Environment
Dynamic application security testing (DAST) works by attacking a running application from the outside. It sends malicious inputs to the server and observes the responses. Because these inputs include simulated attacks, you must never run DAST against a live production system. Doing so can crash services, corrupt databases, or expose sensitive customer data to the scanner.
Create a staging environment that mirrors your production setup as closely as possible. This environment should have the same configuration, dependencies, and data structure, but it must contain no real user information. Use synthetic data or anonymized copies of your database. If the environment differs significantly from production, the scanner may miss vulnerabilities that only appear under specific load or configuration conditions.
Configure Authentication and Access
Most modern applications require users to log in before accessing protected features. A DAST scanner cannot test these protected areas if it cannot authenticate. You must configure the scanner to handle your application’s login process. This often involves scripting the authentication flow or providing session cookies that the scanner can reuse.
If your application uses multi-factor authentication, you may need to disable it in the test environment or use a service account with elevated privileges for testing. Ensure the test account has the same permissions as a standard user to find privilege escalation flaws. Without proper authentication, the scanner will only see your public-facing pages, leaving the core business logic untested.
Step 1: Define the Scope and Rules
Begin by defining exactly which URLs and endpoints the scanner should test. Creating a scope prevents the scanner from wandering into external services or third-party applications that you do not control. This also prevents the scanner from triggering rate-limiting mechanisms that could block legitimate traffic.
Set the crawling rules to match how real users interact with your application. Some scanners allow you to define specific paths to ignore, such as admin panels that require separate testing strategies. Verify that the scanner can reach all intended endpoints by running a passive crawl first. This initial pass maps the application structure without sending active attack payloads.
Step 2: Run the Initial Scan
Execute the first scan with a conservative configuration. Start with low-intensity settings to ensure the application remains stable under the scanner’s traffic. High-intensity scans can overwhelm older servers or trigger false positives due to timeout errors. Monitor the application logs during this phase to catch any unexpected crashes or errors.
Once the scan completes, review the initial report. Do not attempt to fix every issue immediately. Instead, categorize the findings by severity and likelihood. You will know this step worked when the scanner produces a detailed report listing potential vulnerabilities, including injection flaws and cross-site scripting attempts.
Step 3: Triangulate and Filter Results
DAST tools generate many false positives because they cannot always distinguish between a vulnerable response and a benign error. You must manually verify each high-severity finding. Reproduce the attack steps described in the report using a browser or a manual testing tool. If you can trigger the vulnerability manually, it is a true positive. If the application behaves normally, mark the finding as a false positive.
This manual verification is the most time-consuming part of DAST implementation. It requires a deep understanding of your application’s logic. You will know this step worked when your vulnerability list shrinks to only confirmed issues that require remediation.
Integrate into the Development Workflow
Running DAST manually once a year is insufficient for modern software development. You must integrate the scanner into your continuous integration and continuous delivery pipeline. This allows you to catch new vulnerabilities as soon as code changes are deployed. Configure the pipeline to fail the build if a critical vulnerability is detected.
This integration shifts security left in the development process. Developers receive immediate feedback on their code changes. It also reduces the cost of fixing vulnerabilities, as it is cheaper to fix a bug in development than in production. Refer to our guide on secure software development lifecycle for broader strategies on embedding security into every phase of development.
Maintain and Update the Configuration
Applications change over time. New features, updated libraries, and changed configurations can introduce new vulnerabilities or hide old ones. You must update your DAST configuration whenever the application changes. This includes updating the authentication scripts if the login process changes and adjusting the scope if new endpoints are added.
Regularly review the scanner’s rules and templates. Security vendors release updates to detect new attack patterns. Ensure your scanner is running the latest version to catch emerging threats. You will know this upkeep is effective when the scanner continues to find new issues despite previous remediation efforts.
Verify Effectiveness with Test Cases
How do you know your DAST implementation is working? You cannot rely solely on the scanner’s output. You must inject known vulnerabilities into your test environment to verify the scanner’s detection capabilities. This process is called control testing.
Create a test application with known flaws, such as SQL injection or cross-site scripting vulnerabilities. Run the DAST scanner against this test application. If the scanner fails to detect these known issues, your configuration is too conservative. Adjust the settings until the scanner reliably detects the test cases. This verification step ensures that your DAST tool is tuned correctly for your specific application stack.
| Verification Step | Action | Expected Result |
|---|---|---|
| Scope Check | Run passive crawl | All public and authenticated endpoints are discovered |
| Auth Check | Run scan with login script | Scanner accesses protected pages and forms |
| Control Test | Scan test app with known flaws | Scanner reports the known vulnerabilities |
| False Positive Check | Manually verify top 5 findings | Findings are confirmed or marked as false positives |
- Staging environment is isolated from production
- Synthetic data is used for testing
- Authentication scripts are configured and tested
- Scan scope is defined and limited to target app
- Initial scan runs without crashing the application
- Findings are manually verified and triaged
- Scanner is integrated into the CI/CD pipeline
- Control tests confirm detection accuracy
See also: VPN Appliance Vulnerability Myths Debunked for Secure Remote Access
Address Logic and Business Flaws
DAST excels at finding technical vulnerabilities like injection flaws. It struggles with business logic errors. These are flaws in the application’s workflow that allow users to perform actions they should not be able to. For example, a user might be able to purchase an item for zero dollars if the application does not validate the price on the server side.
You must combine DAST with other testing methods to find these logic flaws. Manual penetration testing and threat modeling are essential for identifying business logic errors. Refer to our guide on threat modeling to learn how to identify potential attack vectors before they become vulnerabilities. Additionally, consider our guide on mass assignment vulnerabilities for insights into how improper data handling can lead to privilege escalation.
Manage the Ongoing Costs
Implementing DAST is not a one-time task. It requires ongoing effort to manage false positives, update configurations, and integrate with new development tools. The hidden cost of DAST is the time spent verifying findings. If you do not have the resources to verify findings, the scanner becomes a noise generator rather than a security tool.
Ensure your team has the skills to interpret DAST reports. Training is necessary to distinguish between critical vulnerabilities and informational alerts. Refer to our guide on vulnerability severity ratings to understand how to prioritize remediation efforts. Consistent upkeep ensures that your DAST implementation remains effective over time.
Key takeaways
- DAST detects runtime vulnerabilities like injection flaws that source code analysis cannot see.
- You must use a non-production environment to avoid impacting live users or corrupting real data.
- Regular re-scanning is necessary because configuration changes often reintroduce old security gaps.
DAST finds runtime vulnerabilities that static analysis misses, but it requires a dedicated test environment and manual verification to be useful. Start by isolating a staging environment and configuring authentication, then integrate the scanner into your deployment pipeline for continuous monitoring.
Frequently asked questions
Can I run DAST on my production environment?
No, running DAST on production can crash services, corrupt data, or expose sensitive information. Always use a staging environment with synthetic data.
How often should I run DAST scans?
Run DAST scans every time you deploy new code. Additionally, schedule periodic full scans to catch configuration drift or newly discovered vulnerabilities.
Does DAST replace static application security testing (SAST)?
No, DAST and SAST are complementary. SAST finds issues in the source code, while DAST finds issues in the running application. Use both for comprehensive coverage.
How do I handle false positives in DAST reports?
Manually verify each finding by reproducing the attack steps. If the vulnerability cannot be triggered, mark it as a false positive and adjust the scanner configuration to reduce similar alerts.
How this guide was produced: written by the SecOps Monitor editorial team with AI assistance, checked against the public references listed below, and reviewed when the facts change. See our editorial policy or report an error.